Contents (12 sections)
Are you looking to enhance your indoor space with a touch of greenery? A well-crafted DIY indoor plant shelf is not just a functional piece of furniture; it can serve as a fashionable focal point in your home. In this tutorial, we will walk you through the steps needed to create a stylish plant shelf that will enrich your living environment with life and colour.
What is a DIY Indoor Plant Shelf?
A DIY indoor plant shelf is a custom-built shelf or set of shelves designed specifically to house various plants, offering an organised and appealing way to display them. This kind of shelf not only allows you to showcase your favourite indoor plants but also helps in promoting healthy plant growth through better light exposure.
- Why Build One?
Creating a plant shelf allows you flexibility in terms of design and functionality. It fits perfectly into your existing decor, can be tailored to the amount of space available, and gives you control over what materials you want to use which can often be sustainable or recycled. Moreover, incorporating more plants into your home can improve air quality and boost your mood!
To further emphasise the importance of indoor plants, studies have shown that interaction with nature can reduce stress levels and enhance overall well-being. According to a study by NASA, plants can reduce indoor air pollutants, improving air quality significantly. Therefore, a beautiful DIY plant shelf can also contribute to a healthier home environment.
Step 1: Gather Your Materials
Before diving into the building process, assemble all the materials you’ll need. You'll require:
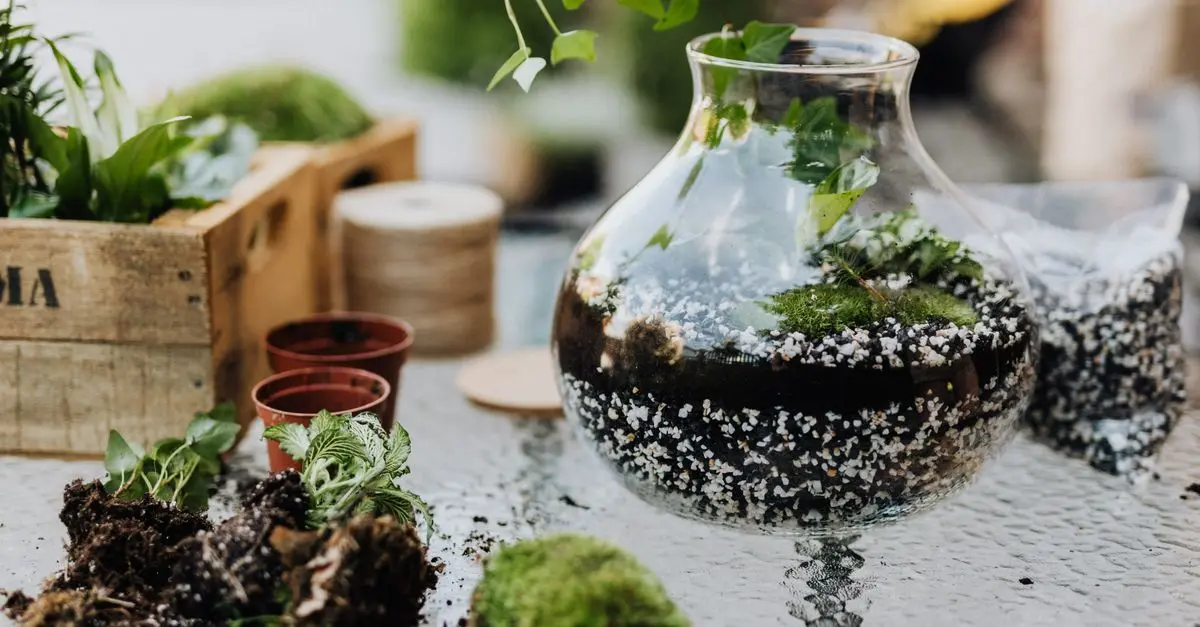
- Wood: Choose a durable wood type such as pine, oak, or plywood. The size will depend on how many plants you want to display and the overall dimensions of your shelf.
- Tools: You will need a saw, drill, measuring tape, sandpaper, and a level.
- Optional: Paint or wood stain for finishing touches and brackets or wall anchors if you plan to secure the shelf to a wall.
Pro Tip: While you can purchase ready-made brackets, you may also consider building your own using leftover wood, which adds a unique touch and can be cost-effective.
Step 2: Measure and Design Your Shelf
Measure the space where the shelf will go. It’s essential to understand how many tiers you would like and how tall each tier should be. A design plan would help visualise your project better. Here are considerations to help you:
- Tier Size: Consider the size of the plants you want to display. Larger plants may require deeper or wider shelving.
- Spacing: Make sure there is enough space between each tier to accommodate plant growth. Typically, allow at least 30 cm.
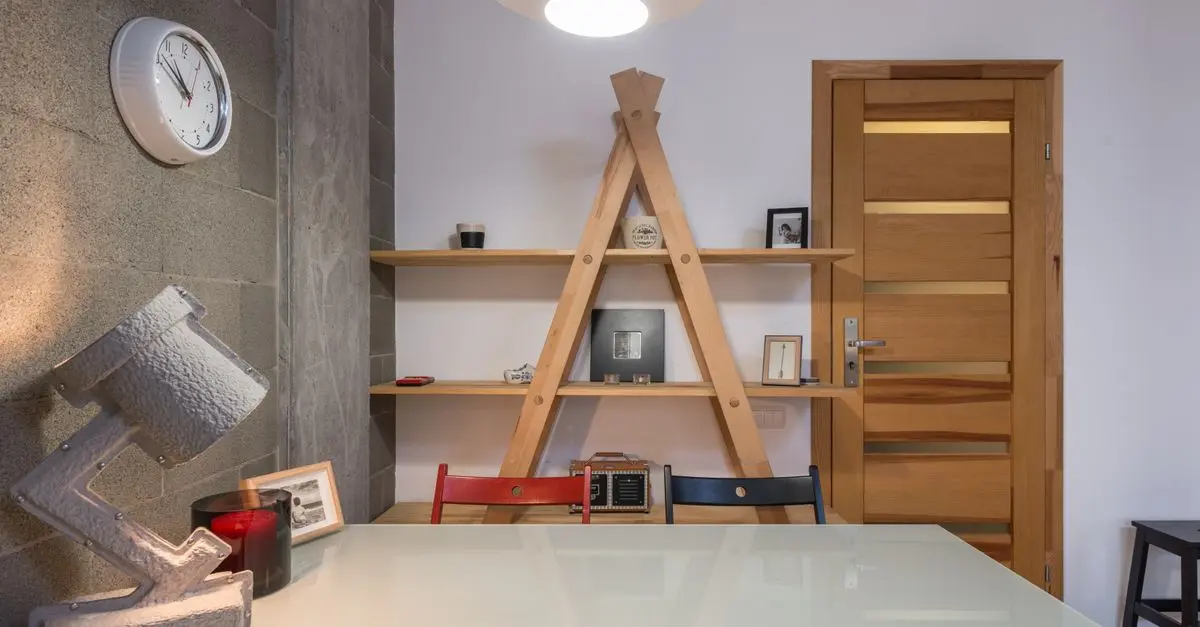
- Aesthetic Elements: Consider if you want a rustic, modern, or minimalist look. The design should resonate with your overall interior decor style.
Step 3: Cutting the Wood
Once you have your materials and measurements, it’s time to cut the wood according to your design. Precision is key in this step:
- Straight Cuts: Use a circular saw or jigsaw for straight cuts.
- Safety First: Don’t forget to wear safety goggles while cutting.
It might be beneficial to practice on scrap wood to ensure you’re comfortable with the saw. This will avoid any mishaps on your actual pieces.
Step 4: Assemble the Shelf
Assembling the shelf can be both rewarding and straightforward:
- Join the Pieces: Start by connecting the horizontal pieces of wood to your vertical supports. You can drill pilot holes first to prevent the wood from splitting.
- Secure with Screws: Use screws that are appropriate for the thickness of your wood.
- Check for Level: As you assemble, use a level to ensure each tier is even. This prevents them from wobbling or looking unprofessional.
Common Pitfalls to Avoid: Ensure not to rush this stage, as uneven shelves can impact their appearance greatly.
Step 5: Finishing Touches
Now that your shelf is assembled, it’s time for the finishing touches. Here’s how to elevate your project:
- Sanding: Sand down any rough edges to ensure a smooth finish. This is crucial for the shelf’s longevity and aesthetics.
- Paint or Stain: Apply a coat of paint or stain to match it with your home decor. Natural stains can highlight the beauty of the wood.
- Sealing (Optional): Consider a sealant to protect it against moisture, particularly if your plants are prone to spills.
Step 6: Positioning Your Shelf and Adding Plants
Once your shelf is complete and dry, it’s ready to position in your desired location:
- Wall-Mounting: If you’ve chosen to mount it on a wall, ensure you use drywall anchors to support its weight.
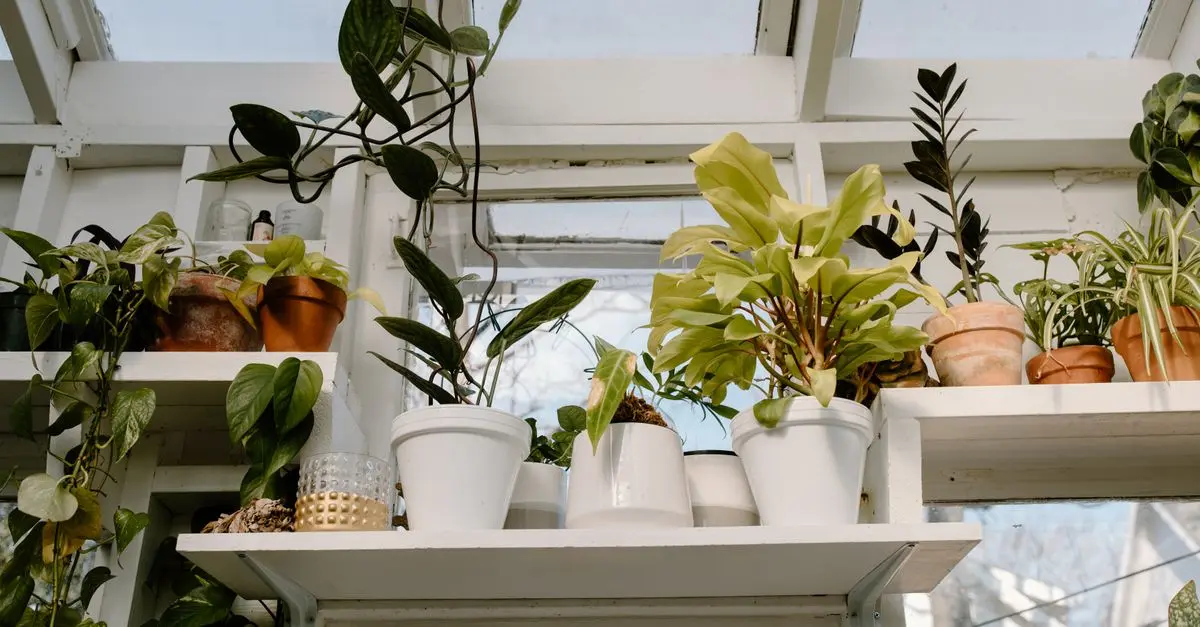
- Plant Placement: When choosing where to place your plants, consider their light requirements. Group plants with similar needs together to maintain a healthy environment.
Step 7: Maintenance Tips
To keep your new plant shelf looking fresh:
- Ensure proper watering without over-saturation.
- Regularly check for pests that may affect your plants.
- Dust the leaves to keep photosynthesis effective.
Checklist before you start
- [ ] Gather measurements of the intended wall or space.
- [ ] Purchase all necessary materials and tools.
- [ ] Sketch the design plan.
- [ ] Ensure proper safety gear is on hand.
- [ ] Prepare a space for assembly and painting.
📺 For further exploration:
Check out this YouTube link for a visual guide on creating plant shelves, search for: "DIY indoor plant shelf tutorial".
Glossary
| Term | Definition |
|---|---|
| Tier | A level or layer in a shelf where plants or items are placed. |
| Pilot Holes | Small holes drilled to allow screws to be inserted easily without splitting the wood. |
| Sealant | A protective coat applied to wood to prevent moisture and damage. |
> 🧠 Quick Quiz: What is the primary material used for building a DIY plant shelf?
> - A) Plastic
> - B) Wood
> - C) Metal
> Answer: B — Wood is the most common and aesthetically pleasing material used for these projects.
📺 Pour aller plus loin : DIY indoor plant shelf tutorial sur YouTube